


Why use tags
As your prompt library grows, you’ll want to:- Filter results by topic, audience, or priority
- Compare performance across different categories
- Report on segments to stakeholders
- Manage prompts in logical groups
Creating tags
Navigate to Settings → Tags and click Add Tag to create a new tag.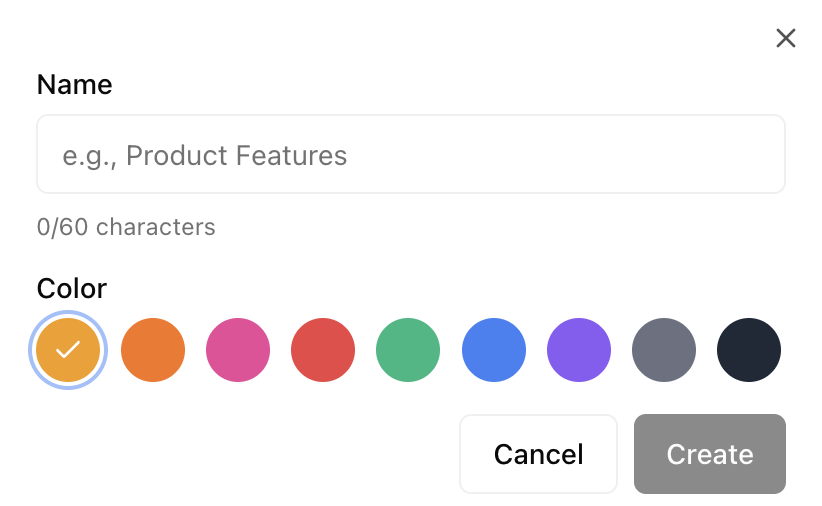
Tag strategies
By funnel stage
Organize prompts by where users are in their journey:| Tag | Prompts |
|---|---|
awareness | ”What is [category]?” |
consideration | ”Best [category] tools” |
comparison | ”[Brand A] vs [Brand B]“ |
decision | ”Should I use [brand]?” |
By topic/feature
Organize by what the prompt is about:| Tag | Prompts |
|---|---|
integrations | ”Tools that work with Slack” |
pricing | ”Affordable [category]“ |
security | ”SOC 2 compliant [category]“ |
mobile | ”[Category] with mobile app” |
By priority
Focus attention on what matters most:| Tag | Description |
|---|---|
high-priority | Core queries you must win |
medium-priority | Important but not critical |
experimental | Testing new query types |
By audience
Match prompts to personas and segments:| Tag | Audience |
|---|---|
enterprise | Large company queries |
smb | Small/medium business queries |
startup | Startup-focused queries |
technical | Developer/technical queries |
Applying tags to prompts
Single prompt
- Open the prompt detail view
- Click Edit Tags
- Select the tags you want to apply
- Save changes
Bulk tagging
- Go to Prompts list view
- Select multiple prompts using checkboxes
- Click Actions → Add Tags
- Choose tags to apply to all selected prompts
- Confirm
Using tags for analysis
Filtering by tag
In any analytics view:- Click the Filter button
- Select Tags
- Choose one or more tags
- Apply filter
Comparing tag performance
View aggregate metrics by tag:| Tag | Share of Voice | Avg Position | Sentiment |
|---|---|---|---|
awareness | 45% | 2.3 | +62 |
consideration | 38% | 2.8 | +55 |
comparison | 52% | 2.1 | +48 |
Tag-based reporting
Export reports filtered by tag for:- Stakeholder updates — “Here’s how we’re doing on enterprise queries”
- Content strategy — “Here are the feature areas where we need to improve”
- Competitive analysis — “Here’s our position in comparison queries”
Multi-tag filtering
Combine multiple tags for precise analysis:- AND logic
- OR logic
Show prompts with all selected tags:
enterprise AND high-priority = High-priority enterprise promptsManaging tags
Renaming tags
- Go to Settings → Tags
- Click on the tag to edit
- Update the name and save
Deleting tags
- Go to Settings → Tags
- Click the delete icon on the tag
- Confirm deletion
Tag cleanup
Periodically review your tags:- Merge similar tags that have diverged
- Archive tags for discontinued campaigns
- Remove unused tags to reduce clutter
Best practices
Use consistent naming conventions
Use consistent naming conventions
Choose a style and stick with it:
- Lowercase with hyphens:
high-priority - Or title case:
High Priority - Don’t mix styles
Don't over-tag
Don't over-tag
3-5 tags per prompt is usually sufficient. More than that creates complexity without value.
Create tag hierarchies
Create tag hierarchies
Use prefixes to create logical groups:
funnel:awareness,funnel:considerationpriority:high,priority:low
Tags and teams
For team accounts:- Tags are shared across the team
- Anyone can create and apply tags
- Consider establishing tag conventions early
- Use tag descriptions to clarify meaning
Next steps
Prompt Results
Analyze which prompts are performing
Metrics Overview
Interpret your tagged results